It is only two more months until I start the Royal School of Needlework Certificate in Technical Hand Embroidery (RSN Certificate in short). As I want to be well prepared I have been getting some inspiration by looking at crewelwork designs in books and online. I have also made a slate frame bag as you will have seen in a previous post. Subsequently, I bought some new inserts and customised my Traveler’s Notebook for taking notes throughout the course.


The next thing to tick off the list was something I mentioned in my Finished ‘Flora’ post: to practise painting design lines to make sure they would be thin enough to cover. I thought it would be a very good idea to try practising this as I don’t have a very steady hand and I don’t want to end up with thick blobs that are just impossible to cover and which will ruin my work.
It is, of course, really unsightly to have design lines showing when your work is finished and the RSN has even listed it as one of the main points they check when grading certificate pieces. Drawing thin lines in (water-soluble) pen and pencil is relatively easy but the ‘ official’ way to draw designs on embroidery fabric is the ‘prick and pounce’-method. With this technique, you draw your design on a piece of paper and prick holes along the design-line with a thin needle. You then place this piece of paper on your fabric and rub pounce powder over it. This result in your fabric being covered in lots of small dots. Since chalk pounce does not adhere to the fabric you need to make the design permanent by joining the dots with a painted line.
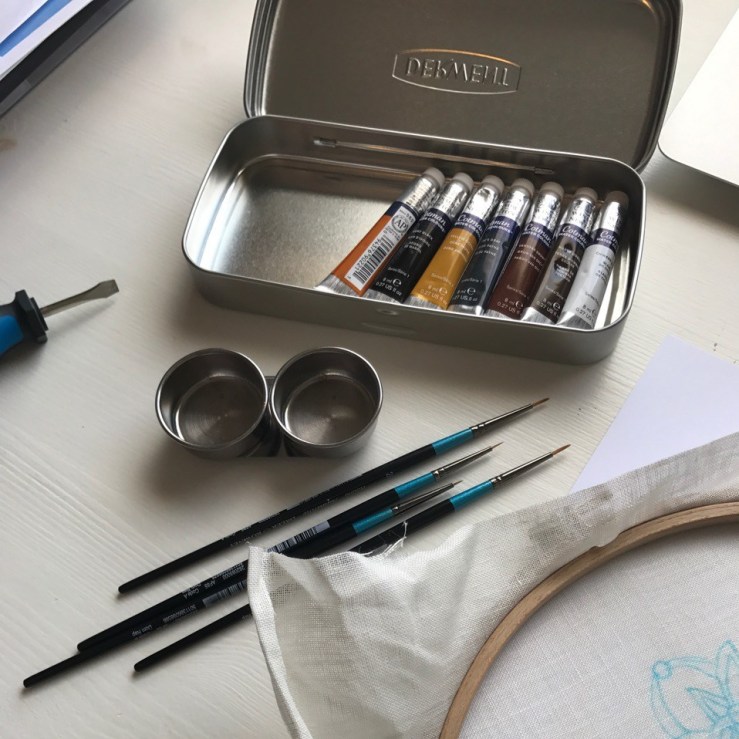
For this, you use undiluted watercolour paint and a (very) thin paintbrush. I picked up a 0, 2/0, 3/0 and 4/0 watercolour paintbrush from Hobbycraft as well as a few different tubes of watercolour paint. I thought it would be a good idea to match the fabric or the thread colours with the paint so the lines would be even less noticeable. I got a lovely tin and mini-mixing pots for my birthday last week.
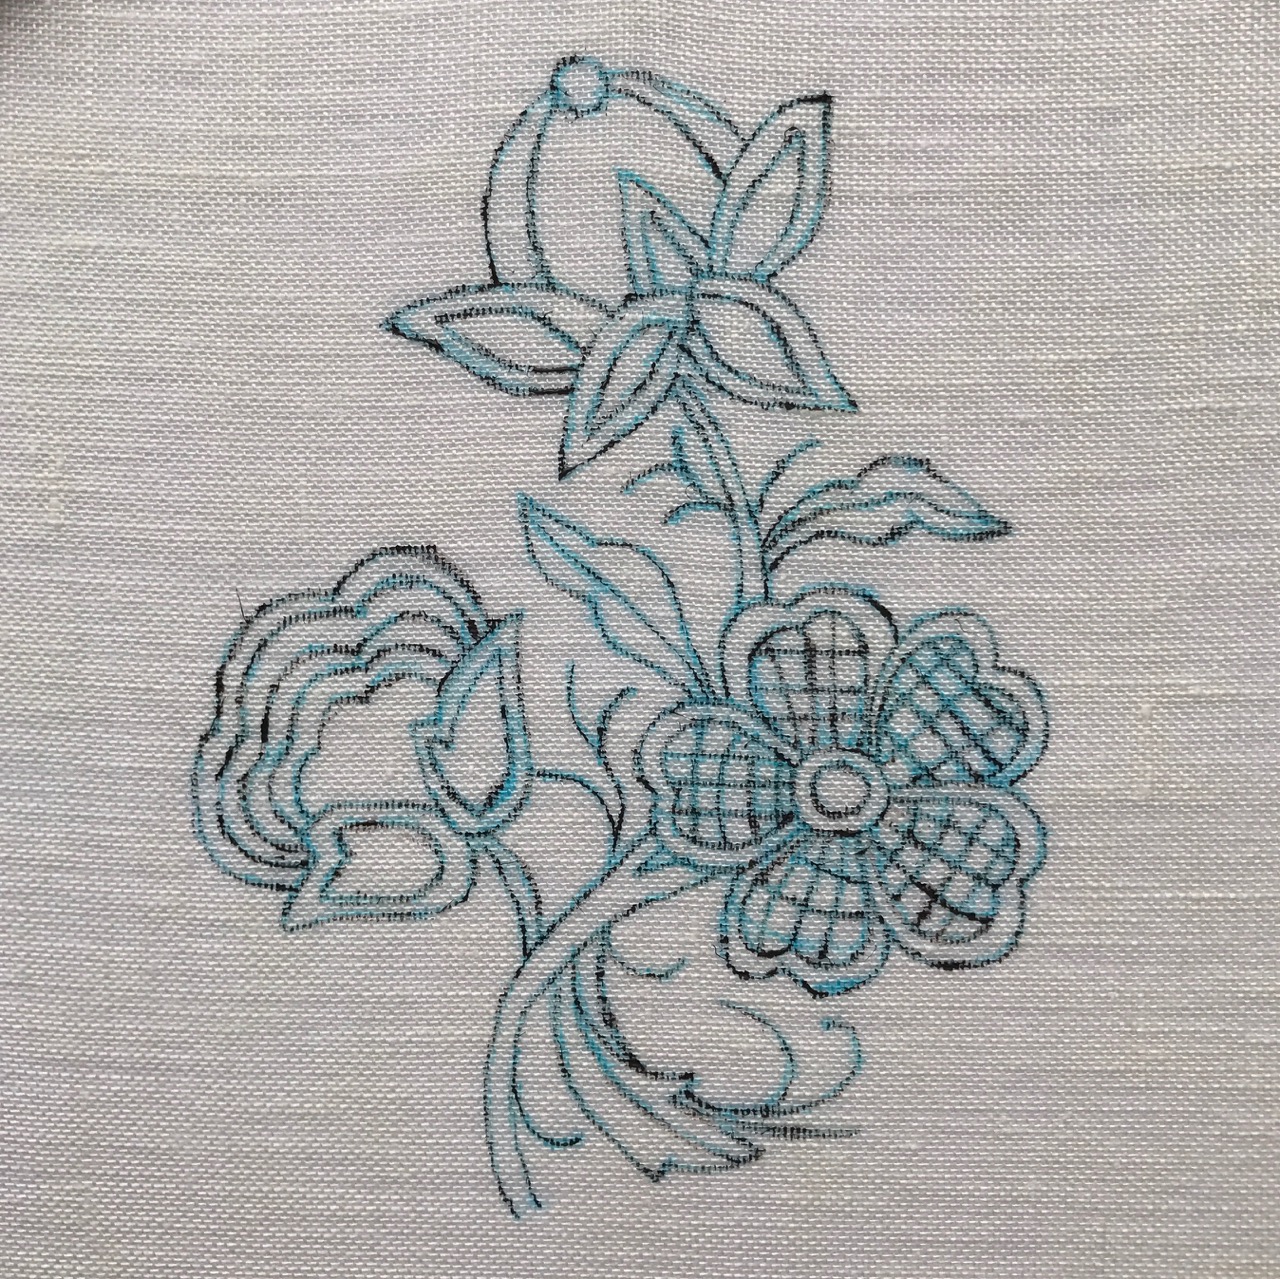
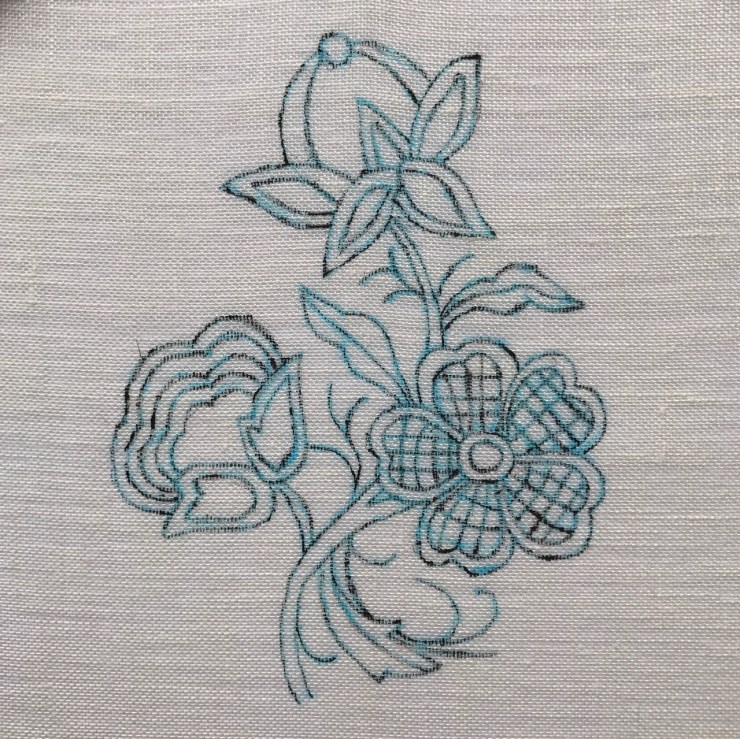
For my first try, I thought I would use a real design rather than try and paint straight lines or circles. I photocopied part of a design by Hazel Blomkamp from her Crewel Intentions book. I placed the photocopy on my Lightpad and traced the design on to a scrap piece of embroidery fabric by using a water-soluble pen. I then painted over these pen lines. I did use one of the darkest colours I had bought so I could easily tell where I was going, and where I was going wrong.
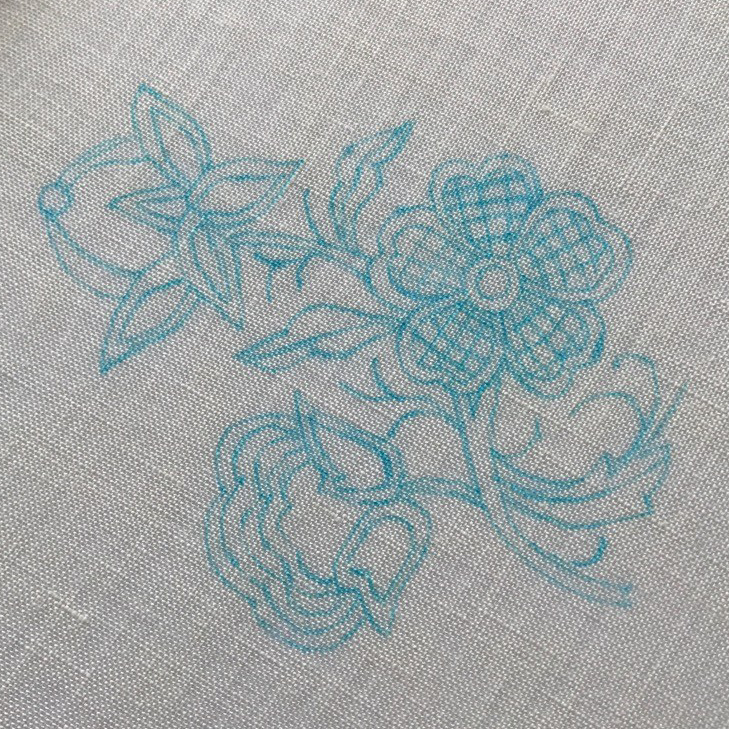
Despite my fear of painting, I actually think my effort wasn’t too bad. I did manage to do it quickly and there are no big blobs or splashes. The most difficult part is the loose fibres in the fabric, which when painted can move and transfer the paint to an area you don’t want it to be. I will try so more design in the next few weeks to keep practising.

Thanks for telling us all about your preparations for the RSN certificate. I am planning to do the course myself next year, so I will follow your journey with a great deal of interest. I am also thinking of making a slate frame bag so thank you for all the details on making that. Does it fit a 24 inch frame? Did you end up with a new magnifier? If not try http://www.siestaframes.com. I have this one – PureLite Three in One Lamp Set Ref: SPO-CFPL04 and it is really good.
LikeLiked by 1 person
Thank you! No, it fits an 18-inch frame so you need to alter the measurements accordingly, but you can keep the design the same. The RSN advised me to get an 18 inch frame as I need to travel a lot with it. I did buy a new magnifier! It arrived today so I will be trying it this evening!
LikeLike
I must admit that when I use prick and pounce I diverge from the official method and use a quilter’s pencil – the idea of letting my paints near fabric is one I only consider with the greatest reluctance!
LikeLiked by 1 person
I agree! I wonder how often I will keep to the official method of painting after finishing the certificate!
LikeLiked by 1 person
I like your process 🙂 I will definitely keep this in mind if I decide to do the RSN certificate course. By the way, I’m curious to see how you organize your travel notebook. I started a planner myself to keep track of projects but I’ve never seen anyone else do it so I’m curious to see how other embroiderer’s organize and plan their projects.
LikeLiked by 1 person
Thank you Dima! Once I have started my course in the Autumn and there is a bit more to show you of its contents I will write a post about my Traveler’s Notebook.
LikeLike
I made a fun mistake with my crewel piece. During some of the last stitches I pricked myself and spilled blood on my piece. Not a big deal as my own saliva was perfectly able to dissolve the blood. It did however also make the yellow paint from my lines bleed. We did a whole lot of careful wetting and blotching before most of it was removed!
LikeLiked by 1 person
That must have been scary! Thank you for the tip, I will watch out for that! Stupidly, even though it is, of course, watercolour paint, I would have never watched out for it bleeding!
LikeLike
You are doing a lot more before starting than I did!
I’m still terrified of the painting process. I”m fine with prick and pounce until I get to that point. If it isn’t a Certificate piece, I sometimes use prick and pounce, but then join the dots with a pencil or pen. I find it so much easier, and still get the design transferred in much the same way!
I had a few blobs – you’d be surprised how easily you can work around them, or in some cases, scratch it off. It won’t be perfect for a few pieces, I’m not sure my painting will ever be perfect!
LikeLiked by 1 person
I will probably still be scared when it is for real rather than just a practice!
LikeLiked by 1 person