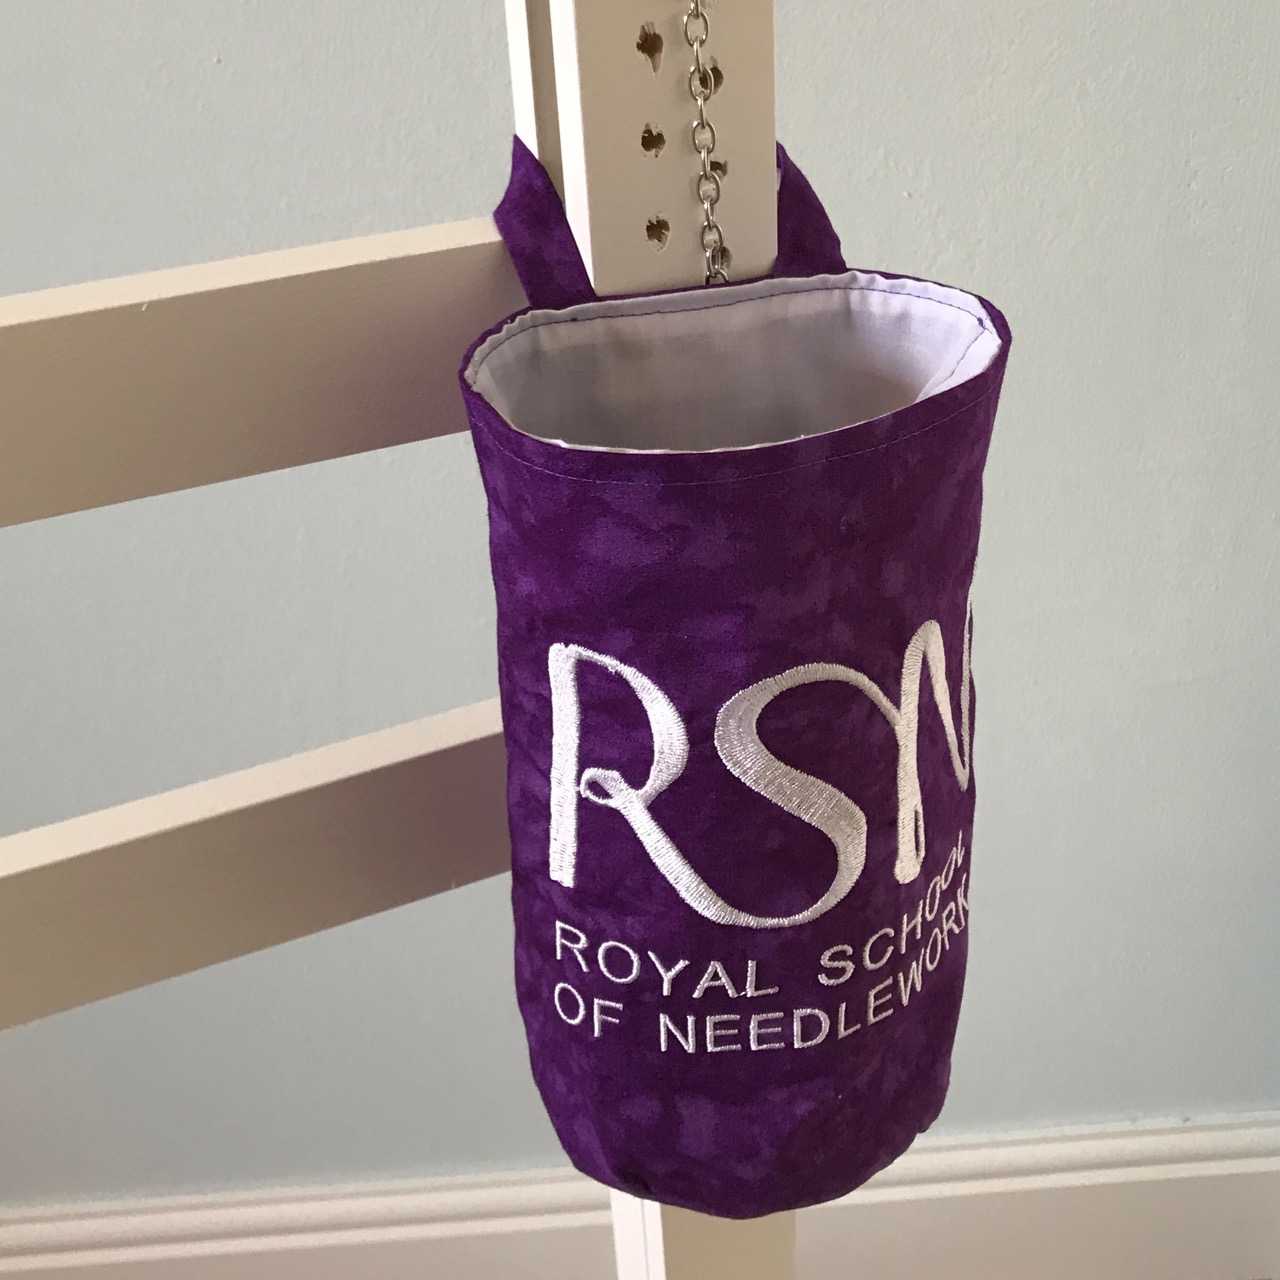
When I did my first day-class at the Royal School of Needlework last year I spotted the cute little purple thread catchers with the RSN logo on sitting on the poles of the trestles in the certificate & diploma classroom. At the time I thought it was a shame that they didn’t sell those in the RSN-shop.
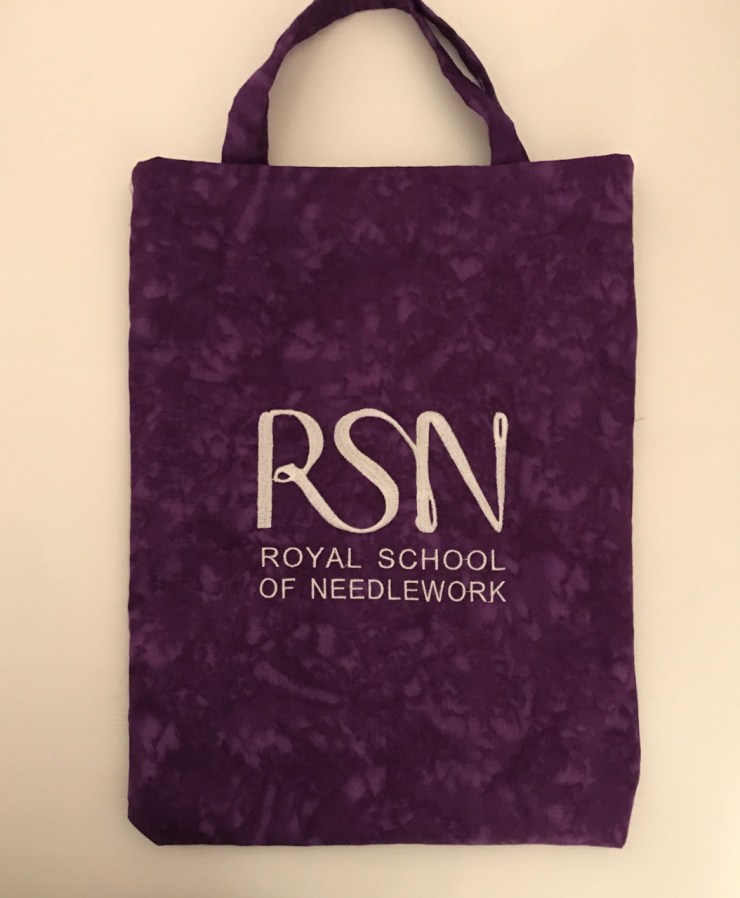
When I received my starter pack on the first day of my certificate course it came in an A4-sized purple fabric bag with the RSN logo embroidered on it. Not really having any use for an A4-sized bag I knew what I wanted to do: make a thread catcher with it!
In case some of you want to do the same thing or use any scrap fabric you may have lying around, here is the how-to make your very own thread catcher.
What do you need:
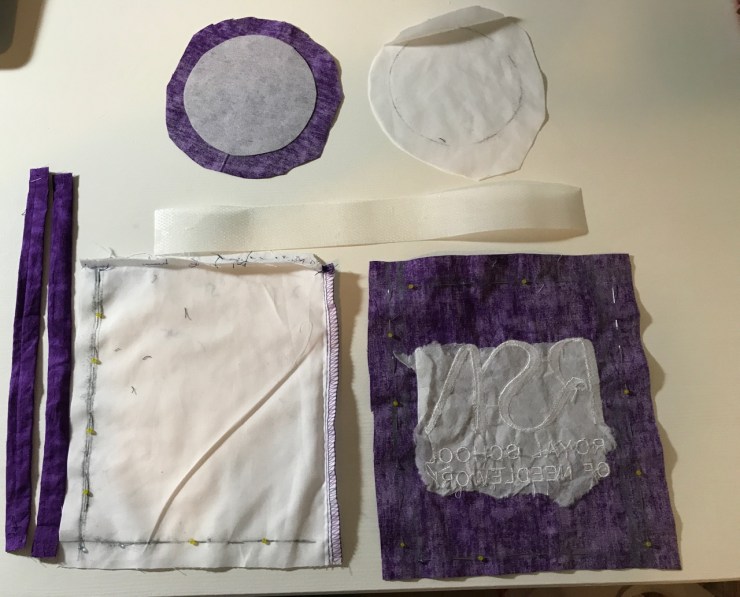
- An RSN purple A4-sized bag (or six pieces (3 for the inside and 3 for the outside) of fabric measuring 20 cm * 18 cm and 2 cm wide strips of 15 cm in length)
- 11 cm square of medium weight iron-on interfacing
- 28 cm * 3 cm stiff waistband iron-on interfacing
- 4,5 cm * 1,5 cm piece of velcro
Step 1 (only applies if you are transforming the RSN A4-sized bag)
Carefully remove the stitching which runs along the top edge of the bag.
Pull up the white lining and remove the small seam of stitches in the bottom corner of the bag.
Turn the whole thing inside out through this hole.
Separate the lining, the outside and the handle by removing the stitches in the centre.


Step 2
Draw a rectangle of 18 cm high by 16 cm wide on both the lining fabric and the outside fabric.
Make sure you centre the RSN logo if you are repurposing the bag.
As there is no logo on the lining you can reuse one of the side seams.
Pin both layers right sides together. I have pinned them together on the line I will be stitching to make it easier for you to see the lines I have drawn. Cut out the panels using a 1 cm seam allowance.


When cutting leave the bottom bit of the bag you are repurposing intact as you will need those pieces of fabric. Open up these leftover pieces by cutting through the seams.
On the two pieces of fabric, or on the remaining two pieces if you are using crap pieces draw a circle with a diameter of 10,2 cm. Cut out the circles with a 1,5 cm seam allowance. Also, draw a circle of that size on the piece of medium weight iron-on interfacing.
Step 3
Stitch the side seams of the lining fabric.
Pin the piece of circular fabric to the bottom of the bag. Tack the pieces together as it is impossible to stitch them together neatly with the pins attached. I found it helpful to stick the inside of an embroidery hoop in the bag to give you some support to pin the bottom piece neatly to the bag.


Sew the bottom and the sides together. Snip the seam allowance at regular intervals to ensure a nicely rounded seam. Don’t turn out, as the rough edges should be on the outside.
Step 4
Sew the side seams of the outside fabric.
Iron on the waistband interfacing to the top of the bag on both sides leaving a 1 cm seam allowance at the top. Iron the circular piece of interfacing to the circular piece of fabric.


Tack the bottom to the sides. Make sure you place your tacking stitches just to the outside of the interfacing and right on the line on the side panels.

Stitch together. Snip the seam allowance at regular intervals to ensure a nicely rounded seam.
Turn the outside bag right side out.
Step 5
Pop the lining in the outside bag and align the side seams
Fold over the seam allowance of both the lining and the outside bag and pin together.


Pop in the handles at the back of the bag with the seams facing outward. Place the straps about 6 cm in from the side.
Stitch together.
Step 6
Cut the straps to 11 cm from the edge of the bag.
Fold over the rough edge and pin a piece of velcro to the end.
Repeat with the other strap but ensure that the piece of velcro is attached on the other side (see picture below).
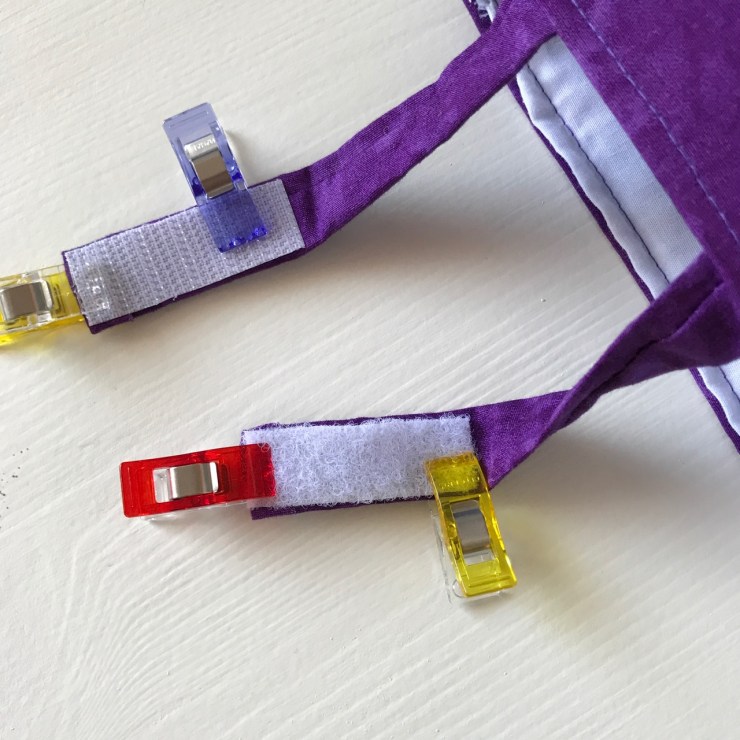
Stitch securely in place.
Finished!


What a great idea!
LikeLiked by 1 person
Thank you!
LikeLike
Such a good idea, to turn it into something you will get plenty of use from!
LikeLiked by 1 person
Definitely, as I have already made use of it today! Restitching the buttonhole-stitches three times…
LikeLiked by 1 person
That must have been frustrating!
LikeLiked by 1 person
It was, but I probably wasn’t quite in the stitching-frame-of-mind (a lot happening at work). I should have just just left it, but really wanted to work on it…. Next weekend should be better I think.
LikeLiked by 1 person
Dat is een handige woltas. Mooi gemaakt Marlous.
LikeLiked by 1 person
Dankjewel Will, nu kan ik mijn restjes draad gelijk opruimen en gaan ze niet tussen mijn borduurwerk zitten.
LikeLike
What a great use of your bag! I use mine as I received it as I find it handy to put things in. I use ort jars for my thread ends, but I do like the idea of a fabric one too.
LikeLiked by 1 person
Thank you Catherine! I just wanted to make use of it, since I already have so many other fabric bags that I got for free at shows, shops etc. On my desk I normally use a little plastic tube, but I thought hanging a bag from one of the posts would be handier, as I have already too many things sitting next to or on my trestles (threads, scissors, needles, design, mellor etc.) What is an ort jar? I have never heard of those. I have just done my first bit of stitching at home. How scary! I ended up re-doing the buttonhole three times! I also did a bit of the stem stitches, until my thread wore down…. I will just have to have another go later.
LikeLiked by 1 person
I know all about starting again several times over! And thread wear is something you have to learn how to deal with I’m afraid. The Appelton’s is particularly bad for it I found.
My Ort jars are just old jam or biscuit jars that I use to put the thread in. They are called ort because of what is in them (thread scraps) rather than anything else!
LikeLiked by 1 person
I know, it was just frustrating me this time. I do still find it difficult to judge what wear is acceptable/normal and what is too much, as the threads are never consistent in thickness . Thank you for explaining. I learned a new English word today! 😃
LikeLiked by 1 person